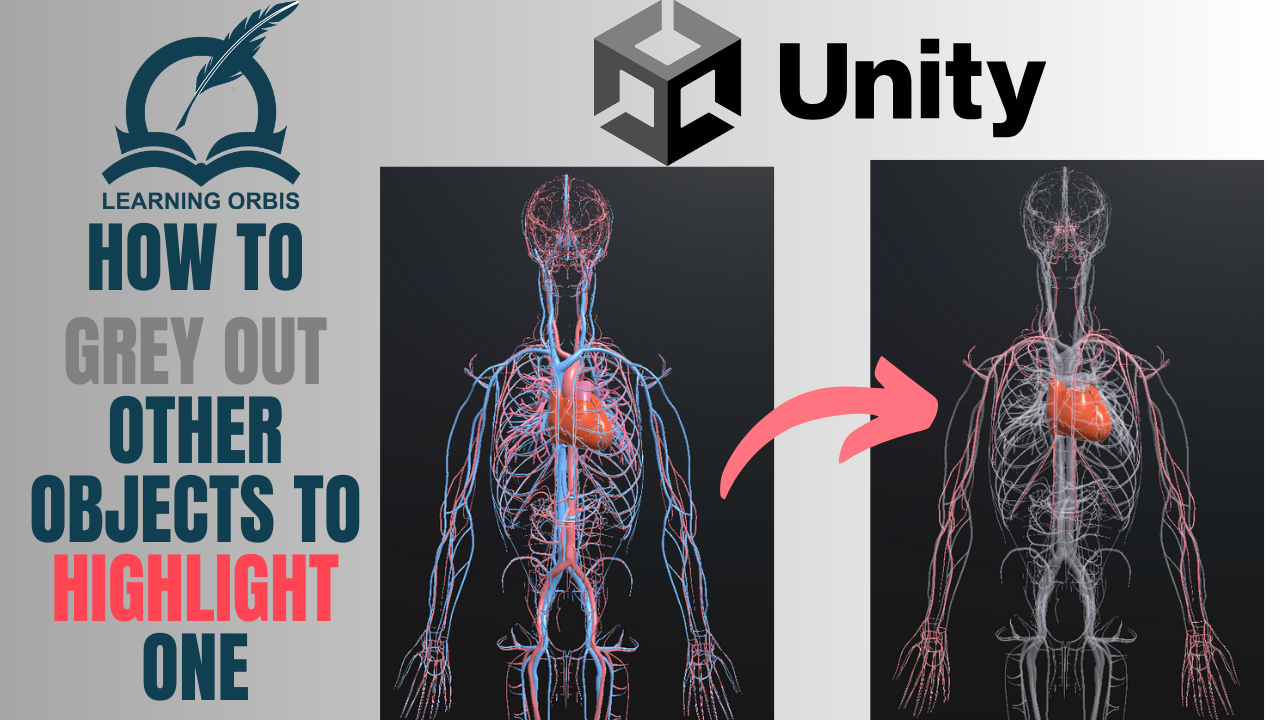
Creating a visually dynamic game experience is essential to keeping players engaged, and one effective way to achieve this is by selectively highlighting objects while greying out others. In this tutorial, we’ll walk you through implementing a grey-out effect in Unity, which can be used to make certain objects stand out while visually deemphasizing others.
In this guide, you’ll learn how to:
- Set up a simple script that highlights specific objects.
- Apply a grey-out material to non-selected objects.
- Toggle between modes for easy control.
This effect is perfect for emphasizing selected items in a cluttered scene or guiding the player’s focus to specific points of interest.
Setting Up the Grey-Out Effect in Unity
To get started, open a Unity project and ensure you have a few GameObjects set up to test the effect. Here’s what you’ll need to begin:
- Unity Editor: Make sure you’re using Unity with URP (Universal Render Pipeline) if you prefer extra material options.
- A Sample Model: Place a model in your scene with multiple child objects. This will let you see the effect on different parts of the object.
- Materials: Prepare a greyed-out material in Unity to apply to objects that you want to deemphasize.
How the Grey-Out Effect Works
In this setup, we’ll use a script that lets you specify which objects in your model to keep fully visible. All other objects will receive a greyed-out material. The effect can be toggled on or off using a simple isVisibilityMode toggle, giving you full control over when to highlight specific items.
The code:
You will need the code provided at this link to get the feature.
Step-by-Step Guide to Implementing the Grey-Out Effect
- Attach the Script to Your GameObject
- Start by attaching the provided
GreyOutUnselectedObjectsscript to your main GameObject (e.g., a character or model with multiple parts). - The script has a customizable list of selected objects that will remain unchanged when the effect is applied.
- Start by attaching the provided
- Define Multiple Selected Objects
- Open the script in Unity and set your desired GameObjects as “selected,” allowing them to retain their original materials. In the inspector, add the child objects you want to exclude from the grey-out effect.
- Set Up the Greyed-Out Material
- Create a new material in Unity and set its color to a desaturated or grey tone. You can experiment with transparency or specific shaders if you’re using URP to get the right look.
- Assign this material to the
greyedOutMaterialfield in the script inspector.
- Control the Effect with isVisibilityMode
- The
isVisibilityModetoggle lets you switch the effect on and off. When turned off, the selected items will be highlighted, and everything else will appear greyed out. - Set
isVisibilityModetofalseby default in the script, so the effect is off when the game starts.
- The
Demo: See the Grey-Out Effect in Action
With the setup complete, hit play in the Unity editor and watch as your selected GameObjects remain fully visible while all other objects appear greyed out. You can toggle the effect on or off in the inspector, making it a flexible tool for different scenarios in your game or app.
You can watch the demo on this YouTube Video.
Customization Tips
Here are a few ways to take the grey-out effect even further:
- Material Adjustments: Adjust the color or transparency of the greyed-out material to suit your game’s aesthetic.
- Add Animation: For an even more engaging experience, consider adding an animation or fade effect when switching between visibility modes.
- Use in VR/AR: This effect works great in VR and AR projects for highlighting points of interest or guiding users through interactive elements.
Conclusion
The grey-out effect is a powerful visual tool that can help improve the user experience in your Unity projects by selectively highlighting important GameObjects. This tutorial provides a flexible approach, allowing you to easily control visibility and guide player focus. Whether you’re creating an immersive game, an AR app, or a VR experience, this effect adds a polished and interactive element to your work.
Let’s make Unity development even more exciting with this simple yet impactful grey-out trick. Happy coding!